Brilliant Prints and
Effortless Setup
PRINTERS FOR YOUR BUSINESS
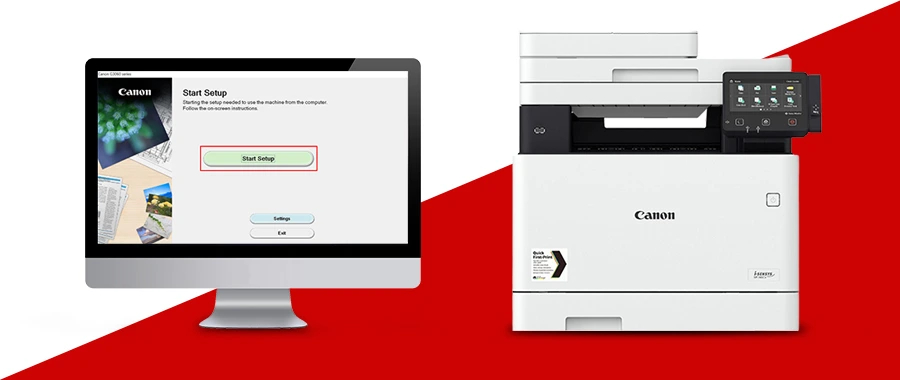
Canon printer setup
Canon printers are known for their high-quality products and superior printing capabilities. With a wide range of models and sizes available, they cater to various needs, making them ideal for use in offices, homes, and commercial settings. To start using your Canon printer, you’ll first need to complete the wireless setup. If you’re unsure how to proceed, you’ve come to the right place. This article provides detailed instructions on connecting Canon printers using both wireless and wired methods. Now, let’s get into the specifics. Below, we’ve outlined the steps…
canon printer setup requirements
- Every Wi-Fi-enabled device, including personal computers, iPads, Apple devices, smartphones, Macs, and Android phones, can seamlessly connect to a Canon printer. To get started, simply download the ‘Canon Printer App.’ Once you press the connect button on your wireless printer, all necessary data will be saved to your device. Additionally, your login credentials and wireless network settings will be transferred automatically, streamlining the setup process.
The second requirement for setting up your Canon printer is a router and a wireless Canon printer. If you’re unfamiliar with this, let us explain. Your wireless router serves as the central hub that connects all devices in your home network—such as your computer, printer, and phone—to the internet. This wireless network device enables seamless connectivity for all devices within your household.
Since the router is a crucial component of the setup process, ensure that your internet connection is active and that the wireless router is properly configured beforehand.
- The third requirement for setting up a Canon printer is a network connection on the computer that will be used to configure the printer. To verify the connection, try accessing the internet on your computer. If you can successfully access the internet, it means your computer is connected to the network.
Canon printer setup – Wps Setup
Setting up WPS (Wi-Fi Protected Setup) on your printer and router is a quick solution for resolving any issues you might have encountered with the previous wireless network setup. This allows your printer to connect directly to the internet for seamless printing. Follow these steps to complete the Canon Printer setup using WPS:
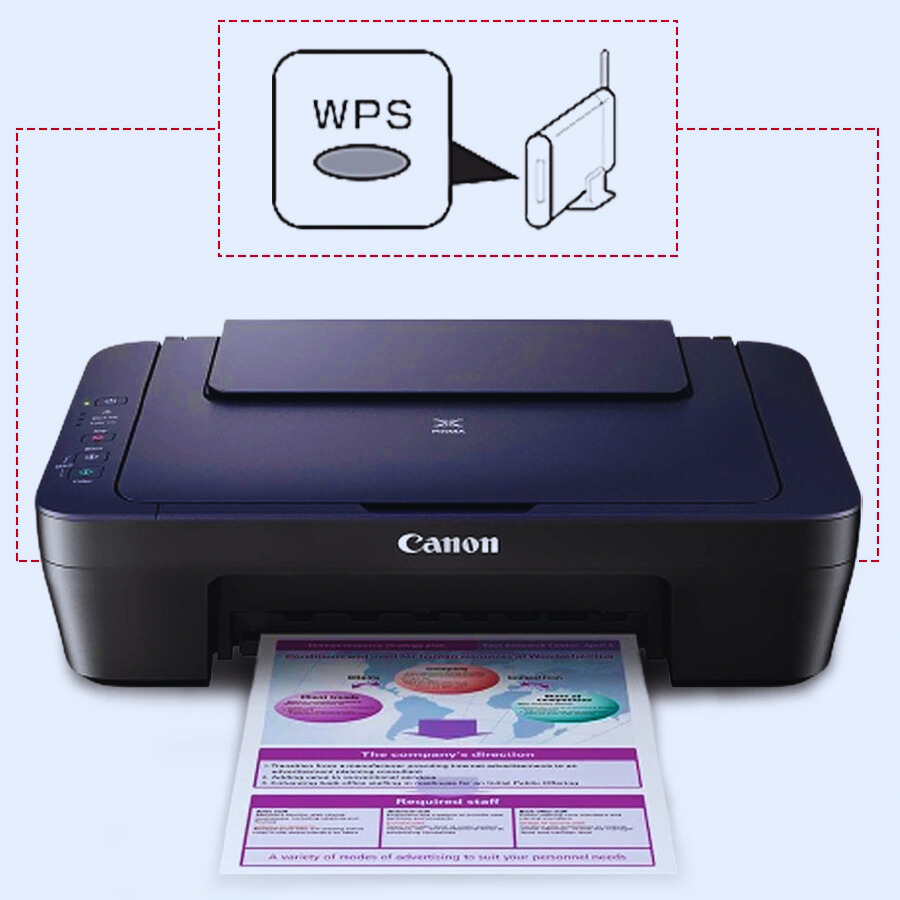
- Ensure that both your wireless router and Canon printer are compatible with WPS (Wi-Fi Protected Setup).
- Turn on your Canon printer and place it within the WPS range of your Wi-Fi router.
- Press the WPS button on your wireless router to initiate the connection.
- Within the next two minutes, press the WPS button on your Canon printer.
- An encrypted connection will be established between the printer and the router.
- Check the printer’s display to confirm that it is connected.
- Install and set up the Canon printer software on your mobile device.
- During the app installation, select a wireless connection and follow the on-screen instructions.
- Complete the setup and run a test print to confirm the connection is working.
- Once your Canon printer is set up for WPS, enjoy the convenience of wireless printing.
Canon printer setup – Manual Setup
First, set up a device that is compatible with the Canon printer. To ensure proper connection and printing, the device must meet the printer’s system requirements. Below are the steps for downloading and manually setting up the Canon printer drivers.
- Start by obtaining a device that is compatible with your Canon printer.
- Ensure the device is connected to the internet.
- Open your web browser and navigate to https://in.canon/en/support/download.
- Select your operating system from the drop-down menu.
- Choose the type of software you wish to download, such as a driver, firmware, or software package.
- Select ‘English’ as the language.
- Enter the model number of your Canon printer in the next available field.
- Click on the search icon.
- A pop-up window will appear. Click the ‘Download’ button.
- Once the download is complete, open the file to begin the installation.
- By installing the drivers on your computer, you agree to the terms and conditions.
- “Follow the on-screen instructions.
- Finally, check for any error messages that may appear.
- The printer driver installation is now complete. With the device connected to the printer, you can now print, copy, and scan files.
Canon printer setup via Ij.start.canon
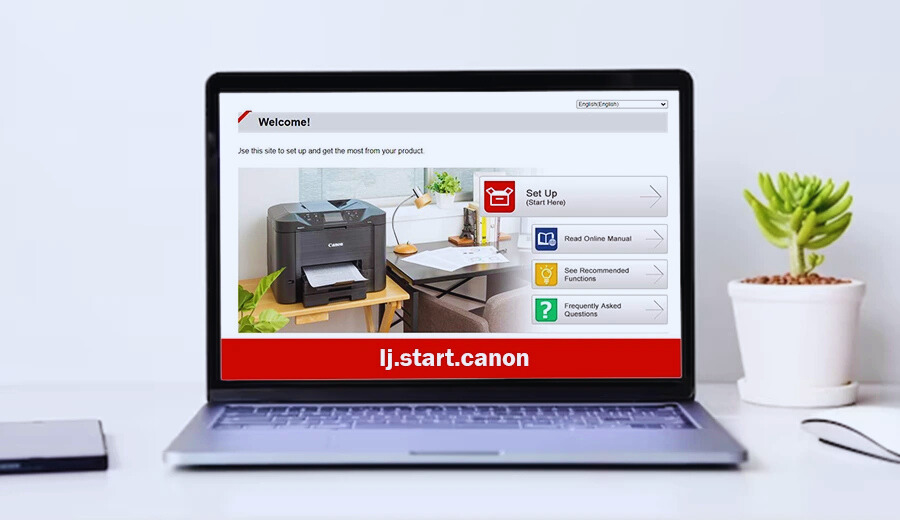
Set up your Canon printer via the ij.start.canon website. To begin configuring your Canon IJ printer, follow these simple and commonly used steps for the Canon printer setup through the ij.start.canon process:
- Start by turning on your personal computer, whether it’s a desktop or a laptop.
- Next, establish a wireless or wired connection between your Canon inkjet printer and the system (if your device supports wireless connectivity).
- Third, enter ij.start.canon or https://ij.start.canon into the address bar of your preferred web browser.
- Press Enter and wait for the Canon website to load, where you’ll find various instructions.
- Click the ‘Configure’ icon and wait for a new window to appear, prompting you to enter your printer’s model number.
- Enter the model number of your Canon printer and press Enter to begin the setup installation.
setup IJ.Start.Canon printer on Windows Using USB
To set up your IJ.Start.Canon printer on Windows using a USB connection, follow the simple and commonly used steps listed below to begin configuring your Canon IJ printer:
- Ensure that a USB cable is available.
- To set up a network connection via USB, go to the ij.start.canon website in your browser.
- Next, proceed and patiently wait for the Canon software to detect the USB cable and link your printer to your PC.
- Click ‘Next’ to select your desired network and install the printer driver.
- After tapping ‘YES’ and clicking the ‘Complete’ button, the ‘Add Printer’ option will appear.
- Visit the http://ij.start.canon site and select ‘Add’ to download the driver.
- Navigate to Device Settings, choose the connection, and then select LAN Settings.
- Update the Canon software, replace the inkjet cartridges, and then verify that all your connections are secure.
- Set up the Canon printer and try printing a test page.
Techniques for canon printer setup
Completing the Canon printer wireless setup involves connecting the device to your computer via either a wired or wireless connection. You can choose from the following methods for Canon printer setup.
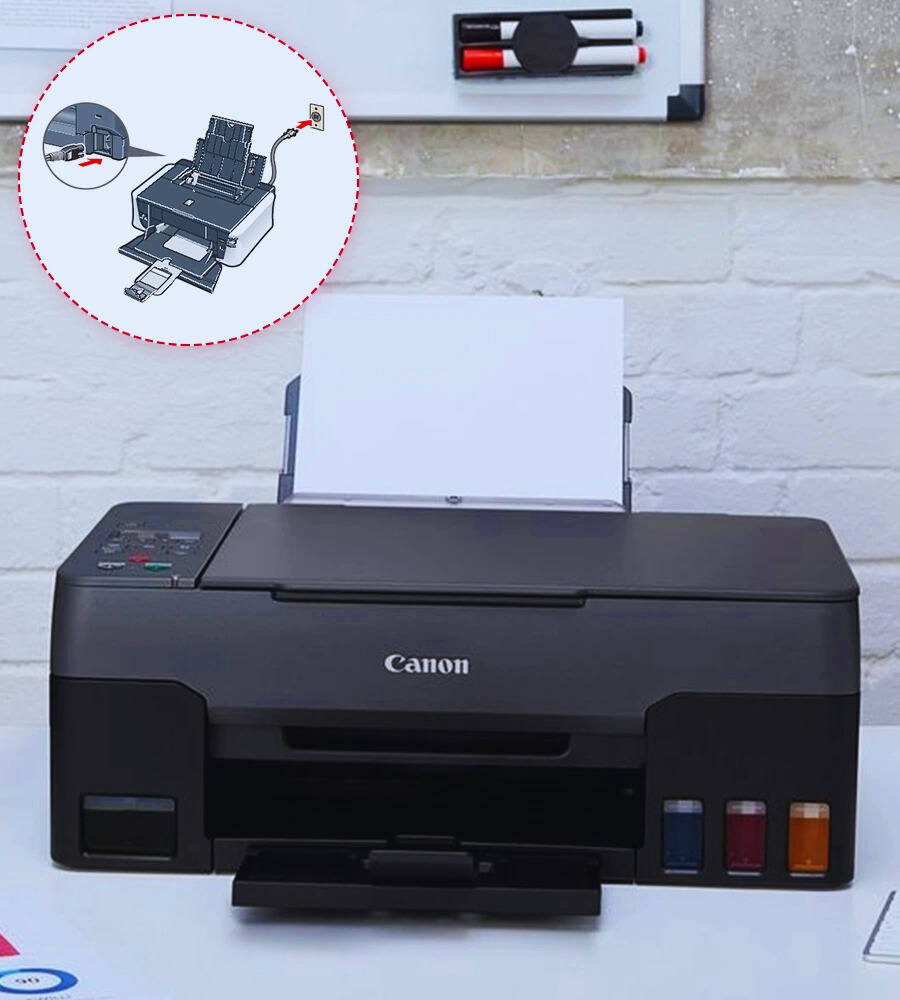
Employing a computer’s USB cord.
- Start by turning on the computer and ensuring it is connected to the internet.
- Next, connect one end of the USB cable to the printer.
- Connect the other end of the USB cable to your router or PC.
- Ensure that all connections are secure and properly fitted.
- Finally, follow the on-screen instructions on the device and verify the connection.
Connectivity issues and hardware malfunctions are more common with wired connections during Canon printer setup, which can interrupt printing and scanning processes. Therefore, setting up your Canon printer wirelessly is the more reliable option.
Setup Canon Printer Wirelessly
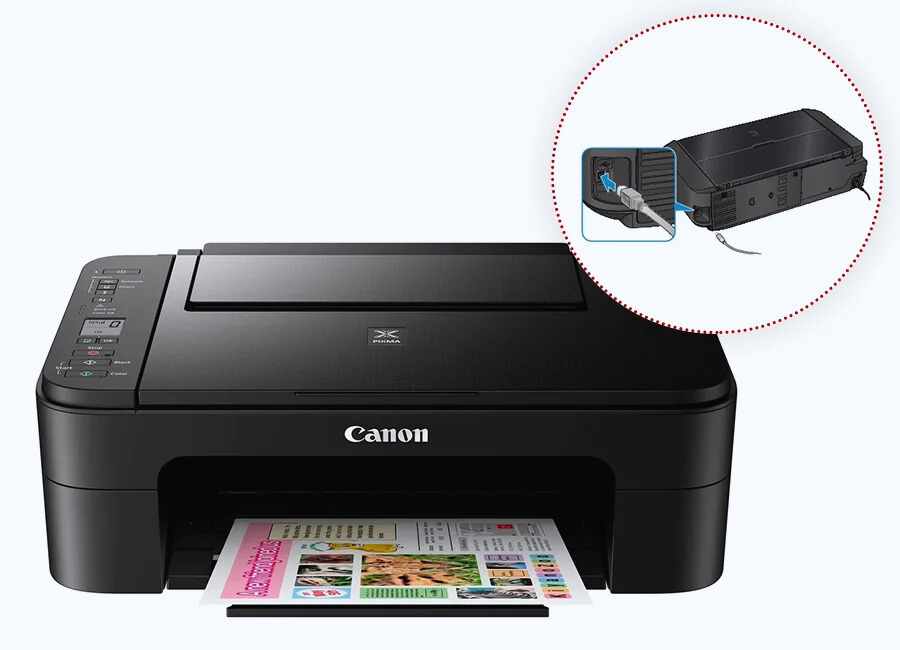
To connect your Canon printer to Wi-Fi, setting up a high-speed internet connection is essential. Once the printer is connected to the internet, you can complete print, scan, and copy tasks. Here are the setup guidelines for connecting your printer to Wi-Fi: To begin, press the printer’s ‘Setup’ button.
- Begin by placing your Canon printer in an optimal location within the coverage area of your Wi-Fi network.
- Power on the printer and access the settings menu through the control panel.
- Go to the wireless settings and select the Wi-Fi network you wish to connect to.
- When prompted, enter the Wi-Fi password carefully. Once you’ve entered it correctly, proceed to complete the wireless setup after confirming the connection.
- The Canon printer software can be downloaded and installed on either a PC or a mobile device.
- To complete the wireless setup, select an appropriate network before installation and follow the on-screen instructions.
- Once everything is set up, confirm the wireless connection by performing a test print.
- For added convenience, use wireless printing from any device connected to the same network as your Canon printer.
Canon printer setup WiFi for Windows devices
First, download and install the printer drivers from https://www.usa.canon.com/support/software-and-drivers on your computer before connecting the device to a Windows computer. Then, follow the steps below to set up your Canon printer’s Wi-Fi on Windows devices:
1
First, connect the Windows-based computer to a Wi-Fi network.
2
Connect the printer to the same Wi-Fi network.
3
Go to the device’s control panel.
4
Select the option labeled ‘Printer and Driver.
5
Once that’s done, click ‘Add Printer.
6
Choose the name of the printer you are currently using.
7
Next, tap ‘Add,’ then click ‘OK’ to complete the process.
8
Once everything is closed, verify that everything is working correctly.
Canon printer wireless setup for Mac Devices
Canon printers are compatible with Mac OS X 10.6 or later. The drivers can be downloaded for installation and setup at https://www.usa.canon.com/support/software-and-drivers. Next, follow these steps to set up your Canon printer wirelessly for Mac devices:
- First, ensure that both the computer and printer are connected to the internet.
- Next, select ‘System Preferences’ from the Apple Menu.
- In the sidebar, find and select the ‘Printers & Scanners’ tab.
- After selecting your printer’s name, click the ‘+’ symbol.
- To add the printer, press the ‘Add’ button.
- To confirm the connection was successful, verify it and print a test page.
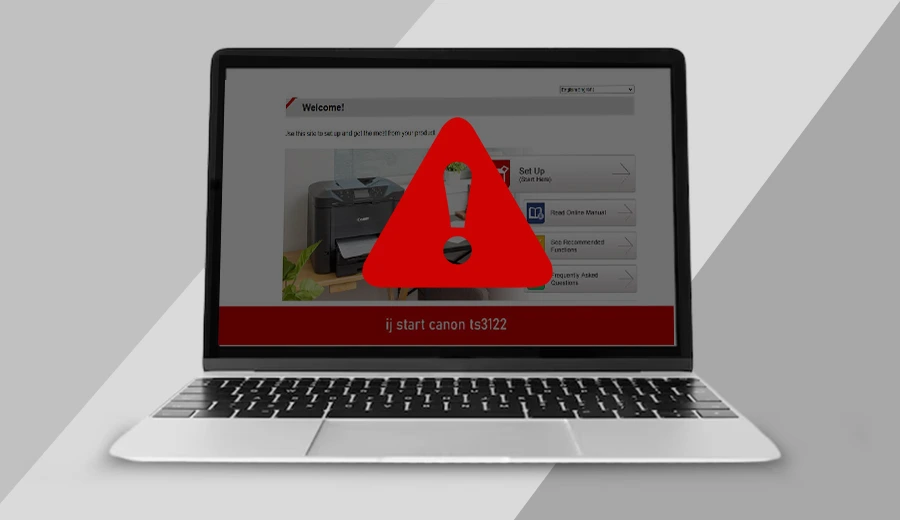
Can’t access canon printer setup
Common issues with Canon printer setup that may prevent you from accessing it. Here are some of the reasons why your Canon printer might not connect:
- Forgot Password Issues
- Account Lockout
- Network Connectivity Problems
- Browser Compatibility.
Troubleshooting Steps when your Canon printer won’t connect
1
First, connect your Windows-based computer to a Wi-Fi network.
2
Connect the printer to the same Wi-Fi network.
3
4
Conclusion
This article provides a thorough explanation of the steps required to set up your printer. By following the steps outlined above and using htpp//ij srart canon, you can successfully set up your printer on both Windows and Mac devices. If you encounter any issues, please contact our Canon support team for assistance throughout the process.