How to connect Canon Printer to Internet?
Connecting your Canon printer to the internet offers several benefits, such as wireless printing, remote printing, and the ability to print from desktops, laptops, and mobile devices. By connecting your printer to the internet, you can access all its features without needing a direct USB connection. This article will guide you through setting up both Ethernet and Wi-Fi connections to connect your Canon printer to the internet.
Why should you set up an internet connection for your canon printer?
Before diving into the technical steps, it’s helpful to understand the benefits of connecting your printer to the internet:
- Wireless printing: With a Wi-Fi connection, you can print from any device on the same network as your printer, eliminating the need for a direct connection to your computer.
- Convenience: You can send print jobs directly from anywhere in your home or office, thanks to the ability to print from mobile devices like smartphones and tablets.
- Remote printing: Canon printers with internet access allow you to print documents remotely, so you can send them to print even when you’re not near the printer.
Get Canon printer ready:
- Ensure that your Canon printer is set up and powered on before you begin.
- It should be ready, with enough ink or toner and paper properly loaded in the tray.
- Additionally, since the connection requires your Wi-Fi network name (SSID) and password, make sure you have access to them.
- There are several versions of Canon printers, and each model may have a slightly different connection setup.
- This article will focus on Wi-Fi setup for most Canon models; however, if you encounter any issues, refer to your printer’s manual for additional instructions.
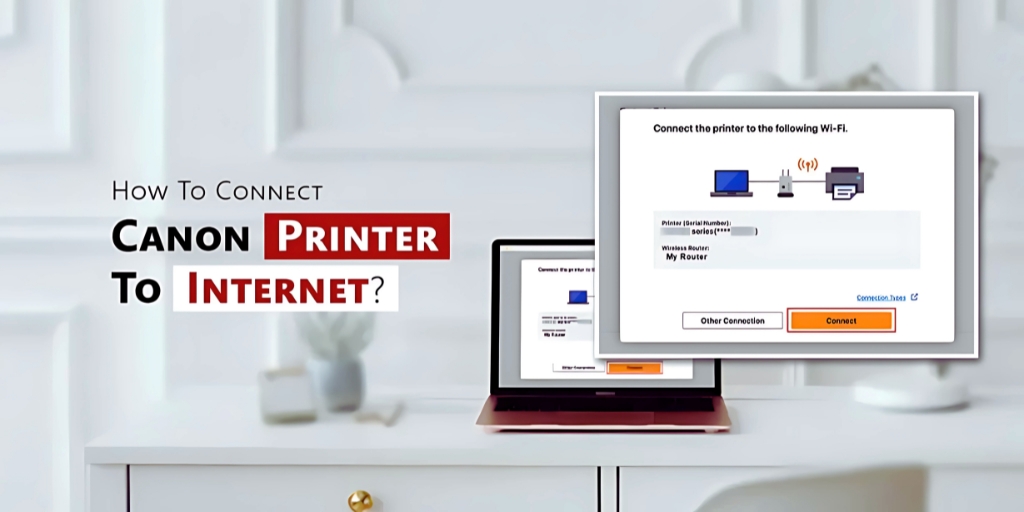
Connect Canon Printer to Internet
1. Utilize Control Panel on printer.
Setting up Wi-Fi on many Canon printers can be done directly from the printer’s control panel. Follow these steps to connect your Canon printer to the internet:
a. Open the Wireless Configuration
- Press the Menu button on the printer’s control panel.
- Navigate through the available options and select Network or Wi-Fi Settings.
- Depending on your model, you may find a Wireless LAN Setup option. Select this option to proceed.
b. Select the Wireless Network
- Your printer will start scanning for available Wi-Fi networks. After a short moment, a list of networks should appear.
- From the list, select your Wi-Fi network. If your network is not visible, ensure that your router is broadcasting on a compatible frequency (2.4GHz is most common for printers).
c. Type in your wifi password
- After selecting your network, the printer will prompt you to enter the network password (Wi-Fi key).
- Pass in wifi keyword using control.
- After entering the password, confirm your decision to connect the printer.
d. Anticipate Approval of Connection
- The printer will attempt to establish a network connection.
- A notification confirming a successful connection should appear on the printer screen once it is connected.
2. For compatible models, use Canon’s “Easy Wireless Connect”.
Easy Wireless Connect is a feature available on Canon printers that simplifies connecting to your Wi-Fi network. Here’s how to use this feature if your printer is compatible:
a. Launch Simple Wireless Connect
- Hold down the printer’s Wireless button until the Wi-Fi light starts flashing.
- This indicates that the printer is ready to connect to a network.
b. Set up the Canon printer software or app
- Download and install the Canon IJ Setup app or the Canon PRINT Inkjet/SELPHY app.
- Launch the software or app, then follow the on-screen instructions.
c. Pick Your Network
- The program or app will search for available networks. After selecting a network from the list, enter the Wi-Fi password.
- The app will confirm that the printer is set up once it establishes a network connection.
3. Use an Ethernet to link Canon printer to Internet.
While Wi-Fi is a common way to connect printers, you may prefer a wired Ethernet connection for more reliable and stable performance. Here’s how to connect your Canon printer to the internet using Ethernet:
a. Insert the Ethernet cable
- Connect one end of the Ethernet cable to the router or network switch, and the other end to the printer’s Ethernet port.
b. Set Up the Network Configuration
- Navigate to the Network or Wired LAN settings on the printer’s control panel.
- The printer should automatically detect the wired connection, and an active connection will be indicated by the status light.
- To confirm the configuration, follow the on-screen prompts if necessary.
- Since a wired connection eliminates the possibility of Wi-Fi signal interference, your printer will stay online as long as the network is operational.
4. Install printer software and drivers.
The next step is to install the printer’s drivers and software on your devices to enable printing from your Canon printer once it is connected to the internet.
a. For Mac or Windows
- Download the latest software and printer drivers for your model from the Canon website.
- During setup, run the installation file and choose whether to connect the printer to a wired or wireless network.
- Throughout the installation process, you will be guided in setting up the connection between your computer and the printer.
b. For Cell Phones
- If you wish to print from your phone, download the Canon PRINT Inkjet/SELPHY app from the app store.
- Use the app to connect the device to the printer and follow the on-screen instructions.
- As long as the printer is connected to the same network, the app should recognize it automatically.
5. Examine the Link
- It’s important to test the connection after completing all of the steps above.
- To ensure the printer is working correctly, try printing a test page from your computer, phone, or tablet.
- If the print job completes successfully, you have successfully connected your Canon printer to the internet.
Tips for Troubleshooting
If you encounter any issues during the setup process, here are some troubleshooting steps to follow:
- Check the Wi-Fi signal: Ensure that the signal is strong and that your printer is within range of your Wi-Fi network.
- Restart devices: Restarting both the network router and the printer can often resolve connectivity issues.
- Check the network: Ensure that the printer is connected to the correct Wi-Fi network and that the network is functioning properly.
- Update firmware: Ensure that the printer’s firmware is up to date. For the latest information, visit the IJ Start Canon website.
- Reset network settings: If all else fails, try resetting the printer’s network settings and attempt the setup process again.
Final thoughts
Connecting your Canon printer to the internet opens up a world of convenience and functionality. By following the steps in this guide, you can easily set up your printer for remote printing and mobile device compatibility, whether you opt for a wired or wireless connection.